In the ZX and NX2, a snapshot is a read-only copy of the state of a file system or volume at a specific point in time. If enabled, snapshots can be used to recover deleted files on a ZX or NX2. Files can be restored using Snapshots but there is no current way to see if anything was deleted, You could mount a snapshot and then compare it with your live mount point to see if there is a difference. The easiest way to explore a snapshot is on a Windows system, both Windows and Mac methods are below.
Mac-only Process requiring an admin:
- Navigate to the snapshots tab in the NX2/ZX web GUI
- Find a snapshot that is old enough to contain the deleted files
- Select "clone" from the options menu for the selected snapshot
- Navigate to the "shares" tab
- Expand the newly created dataset of the cloned snapshot
- Select "Create a share" from the options menu for the new dataset
- Give the share a unique name so it can be distinguished from your production environment
- Mount both the new share and the production share on a workstation
- Locate and copy the deleted files from the new share to the production share
- Verify that the files have been restored
- Delete the cloned dataset once finished
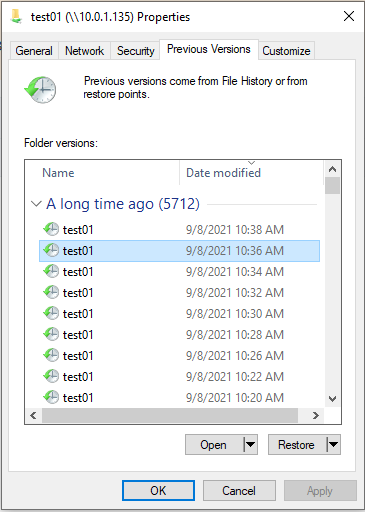
- Right-click the share
- Go to Properties
- Go to Previous Versions
- Double-click on the snap you wish to mount
- You should now be able to see the snaps contents
- When done with the snap, simply close its window to close out the snapshot.

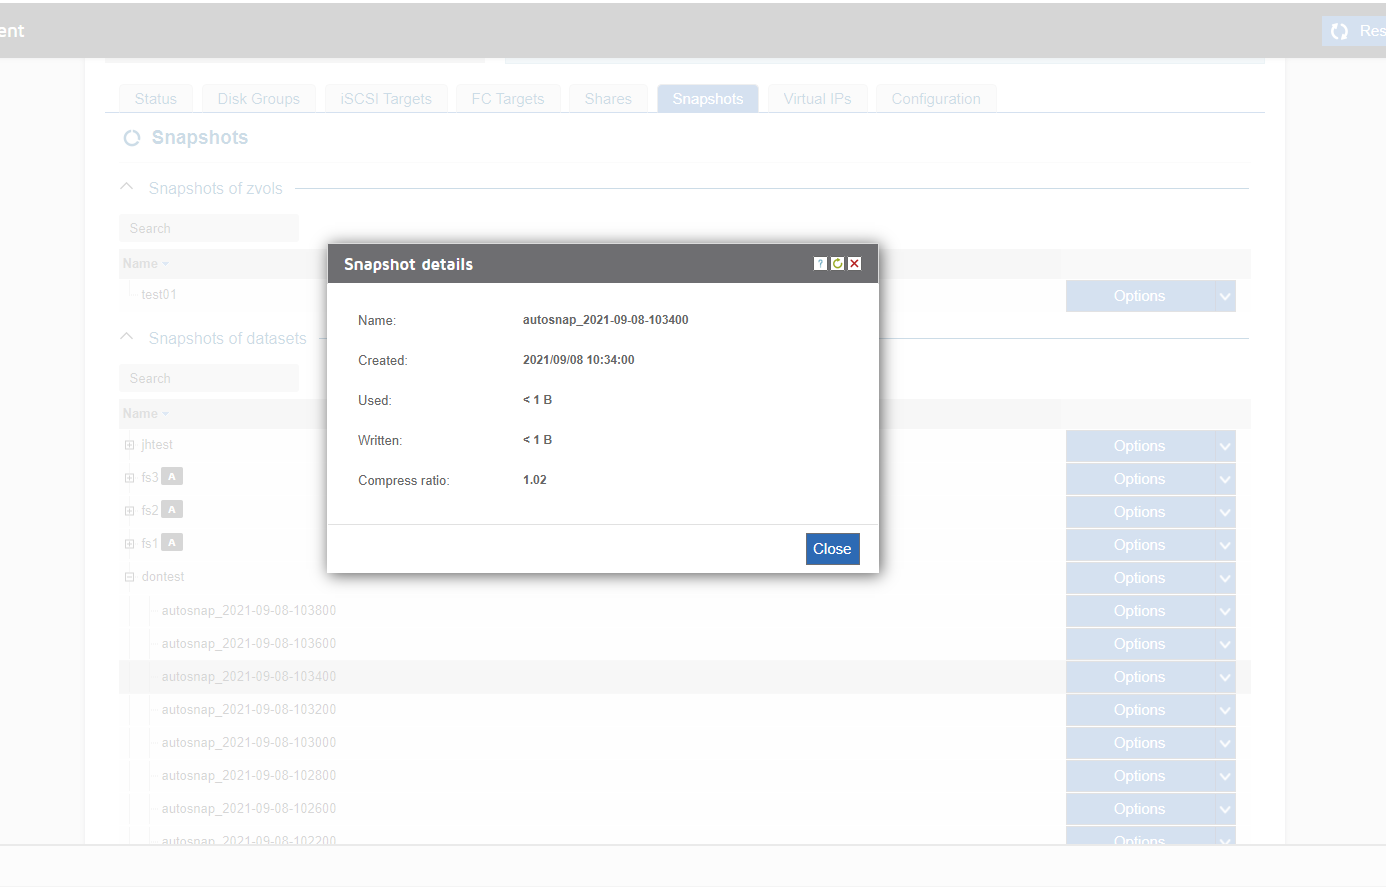
In other words, "used" represents the amount of space that is being used by both the active dataset and the snapshot, while "written" represents the amount of new data that has been written to the dataset

